How to Prepare Shisha: A Step-by-Step Guide
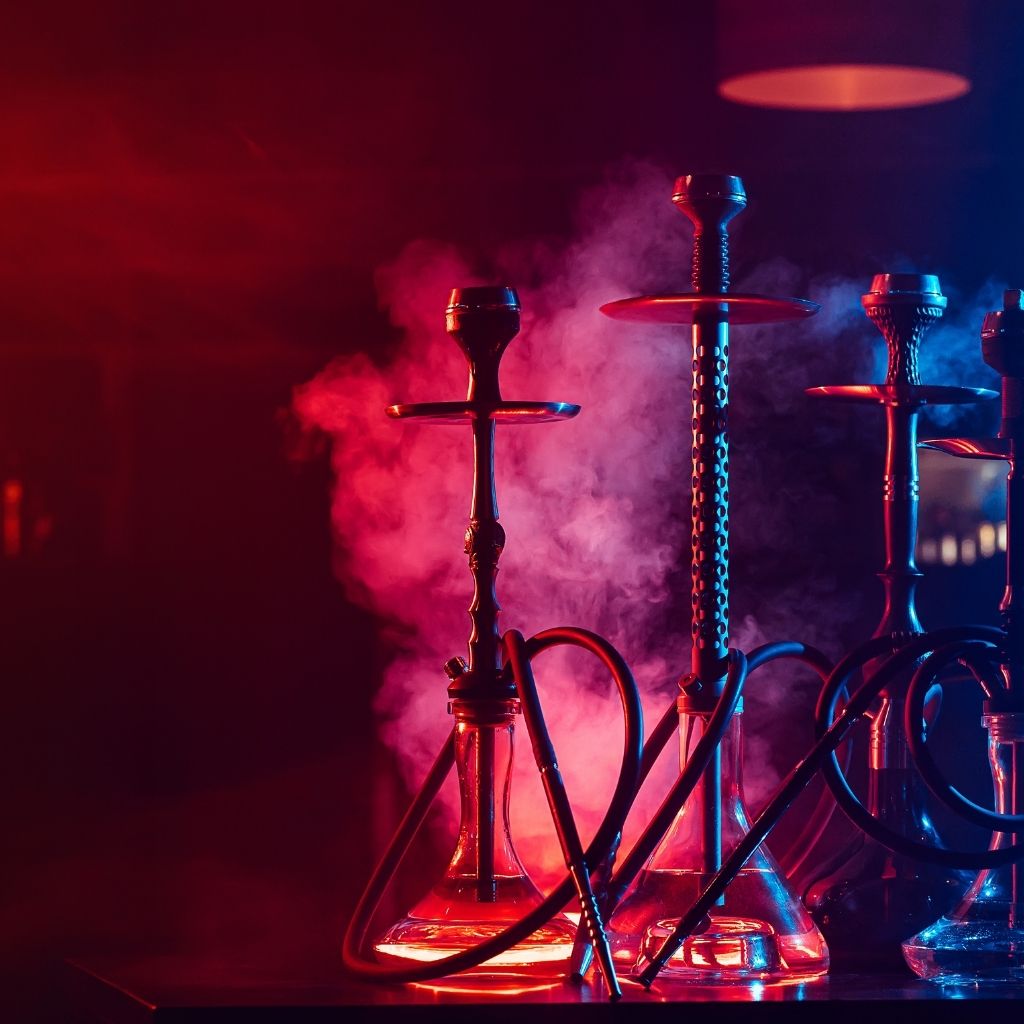
The answer to "why does the shisha here taste better?" is usually not the tobacco. It is the preparation. Below are the steps followed in a professional service — anyone curious can apply them at home too.
1. Cleaning the base and hose
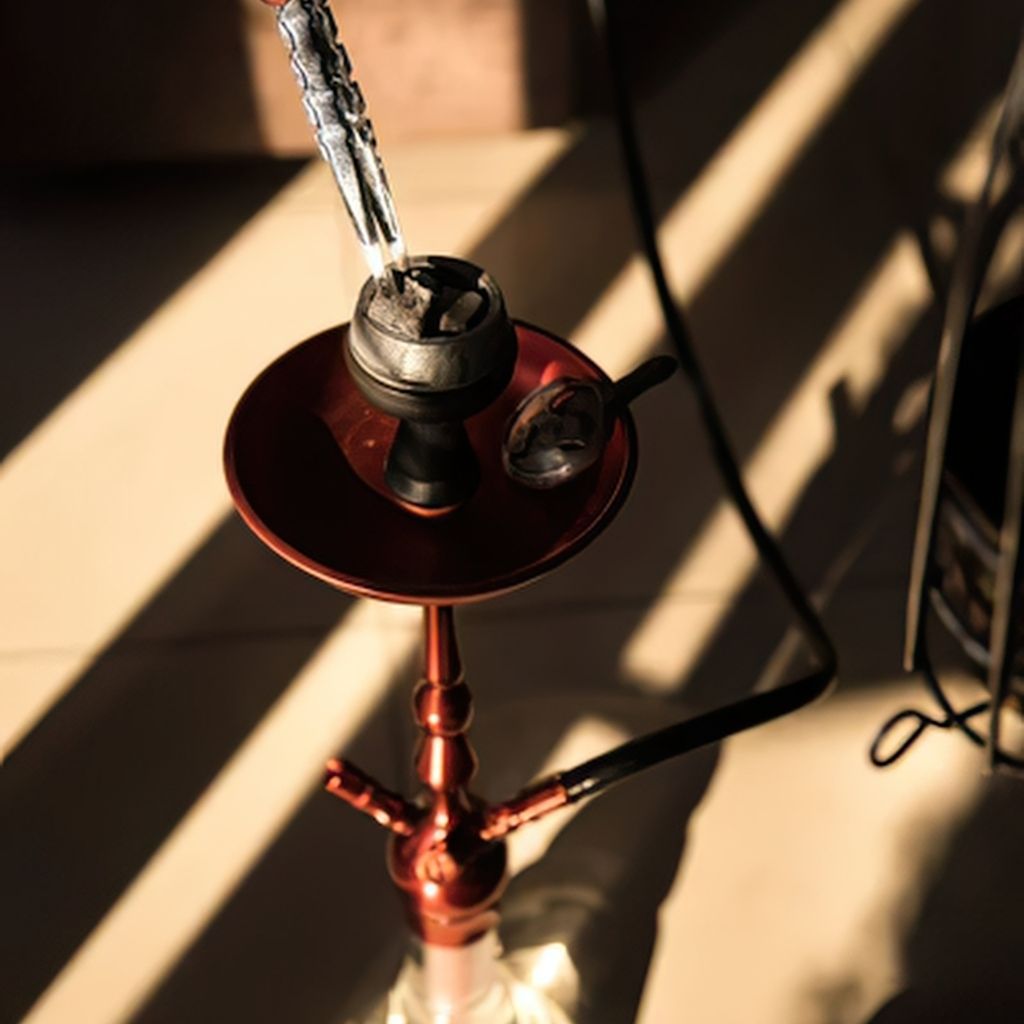
Everything starts with cleaning. If the base is not taken apart and washed, the previous flavour bleeds into the new one. The water is changed every time and filled so the downstem sits only a centimetre or two below the surface. Too much water makes the draw heavy.
2. Packing the bowl
This is the critical step. Tobacco is not pressed down; it is left loose so air can move through it. Packed tightly, it takes heat unevenly and turns harsh. Leave a few millimetres between the surface of the tobacco and the foil or heat management device.
3. Foil or heat management
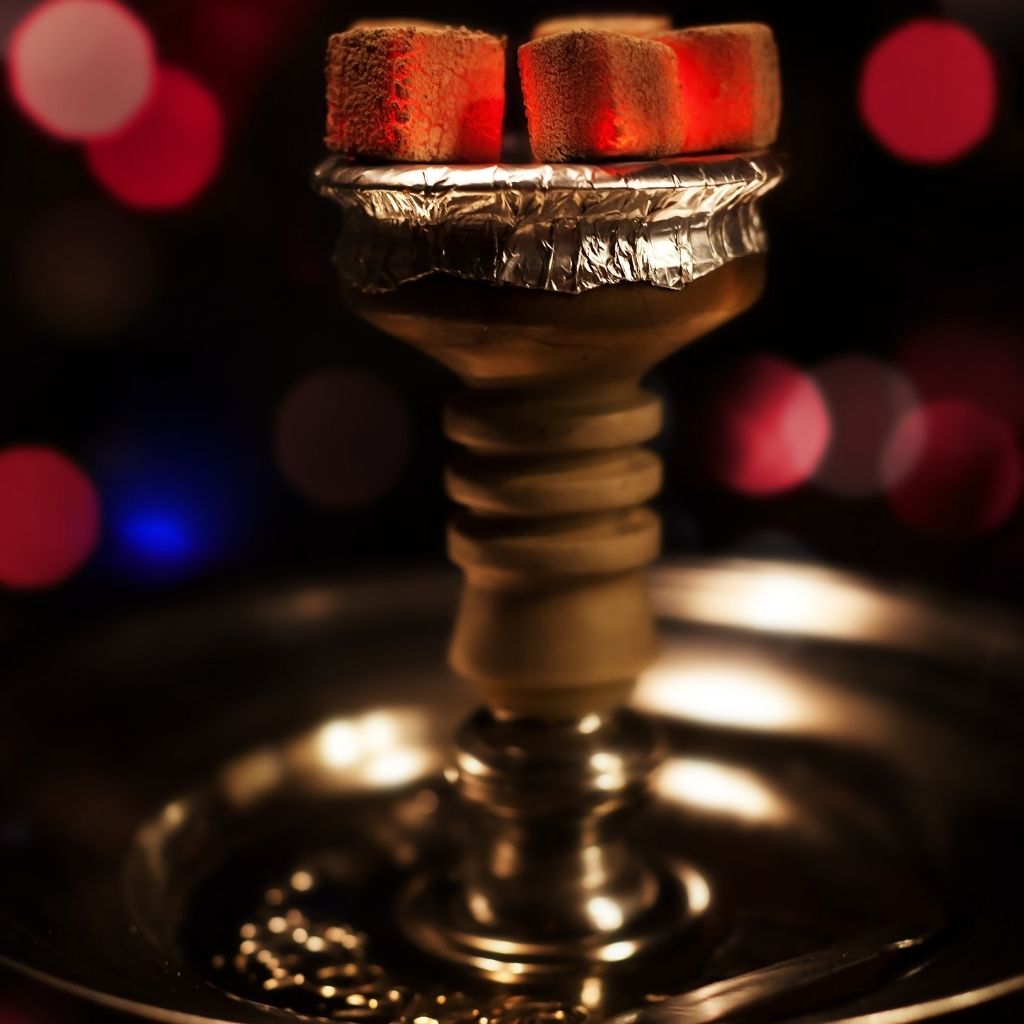
With the classic method, foil is stretched tight and pierced evenly. Holes should be neither too dense nor too sparse — too many burns the tobacco fast, too few makes the draw heavy. A heat management device gives more control and makes the bowl last longer.
4. Coal management — where the real work is
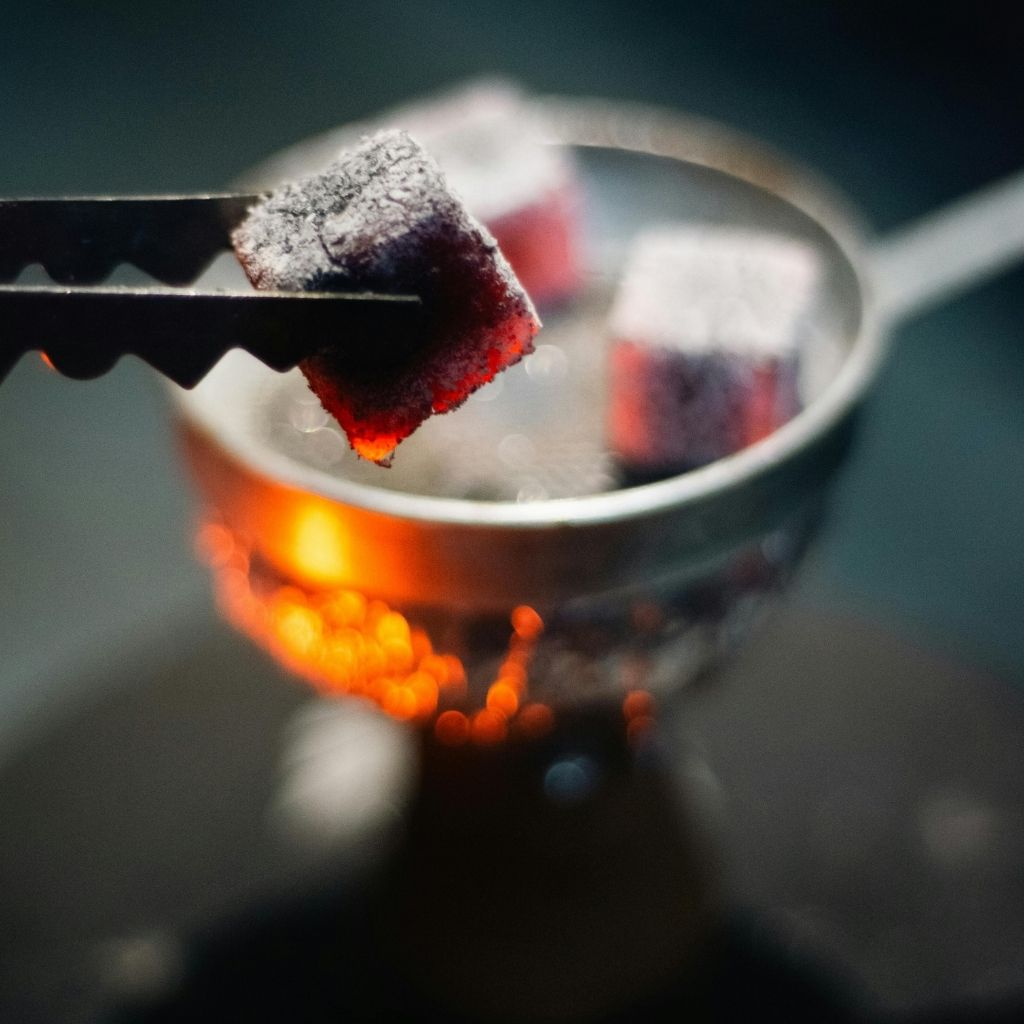
Coals placed before they are fully lit, with black patches remaining, make the smoke bitter. Once they are properly glowing, start at the edges of the bowl and work inward. Coals should be rotated roughly every 15–20 minutes and replaced when needed. A pipe nobody attends to loses its flavour by minute forty.
5. The first draws
Keep the first three or four draws slow and short. Pulling hard while the bowl is still warming produces a burnt taste. Once it settles, the smoke thickens and the flavour comes forward.
Three common mistakes
- Pressing the tobacco down: the number one flavour killer.
- Too many coals: this gives you bitterness, not more smoke.
- Overfilling the base: a submerged downstem makes every draw a struggle.
All of this is standard at our lounge in Alanya. If you would like to taste the difference, book a table on WhatsApp.